Getting Started on Mac
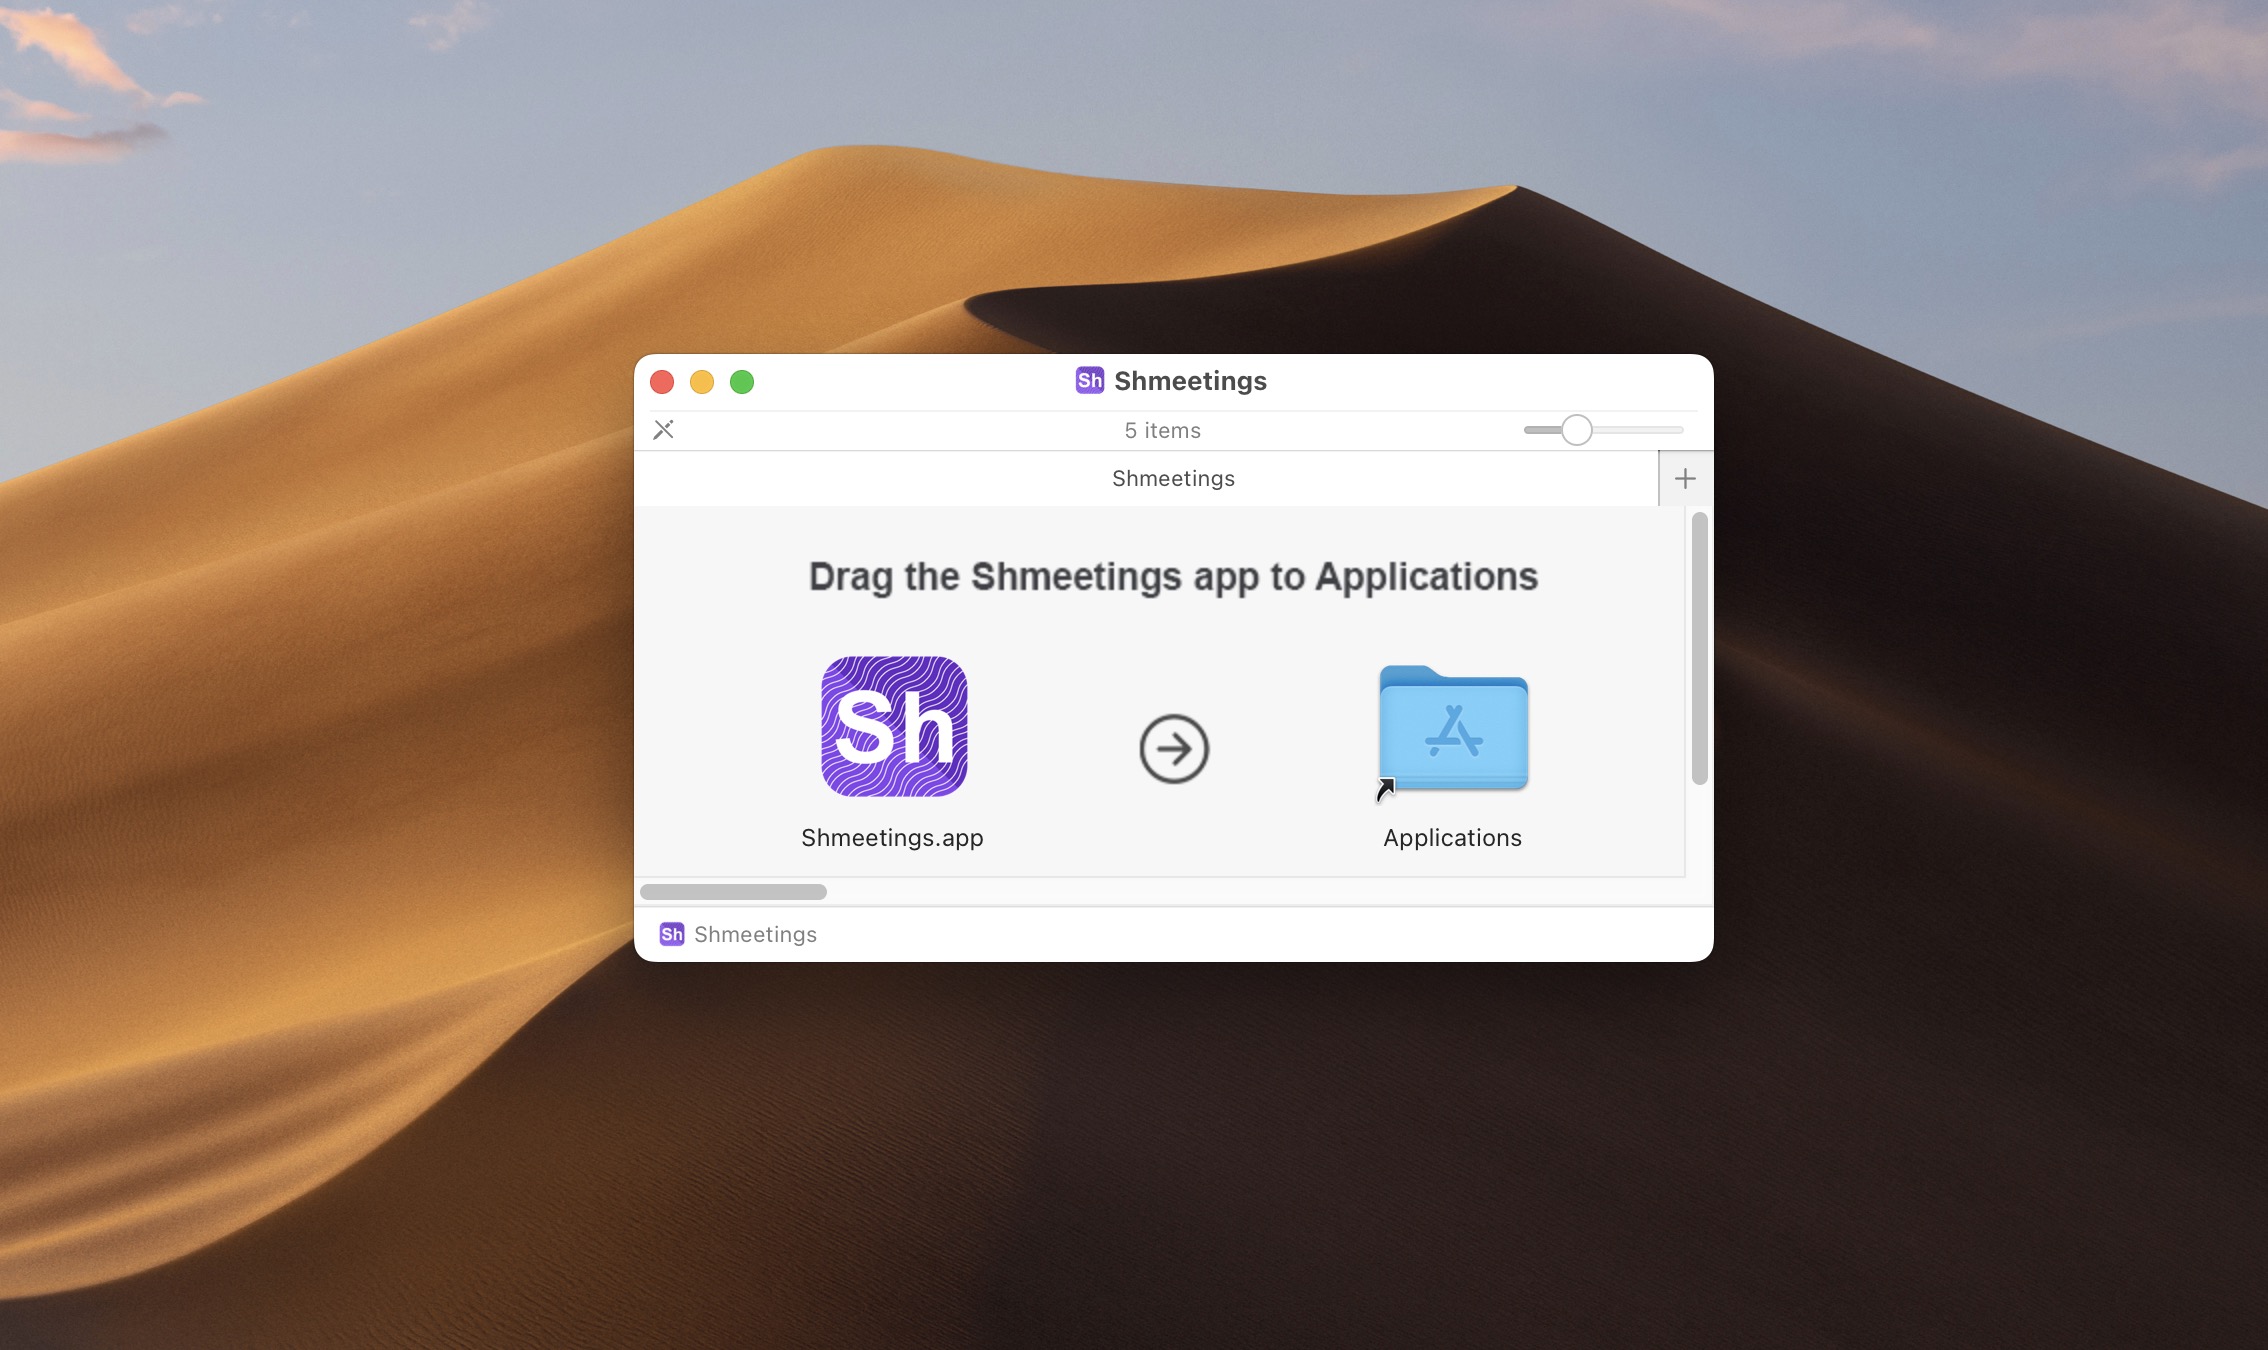
- Open the downloaded .dmg file and drag Shmeetings to your Applications folder.
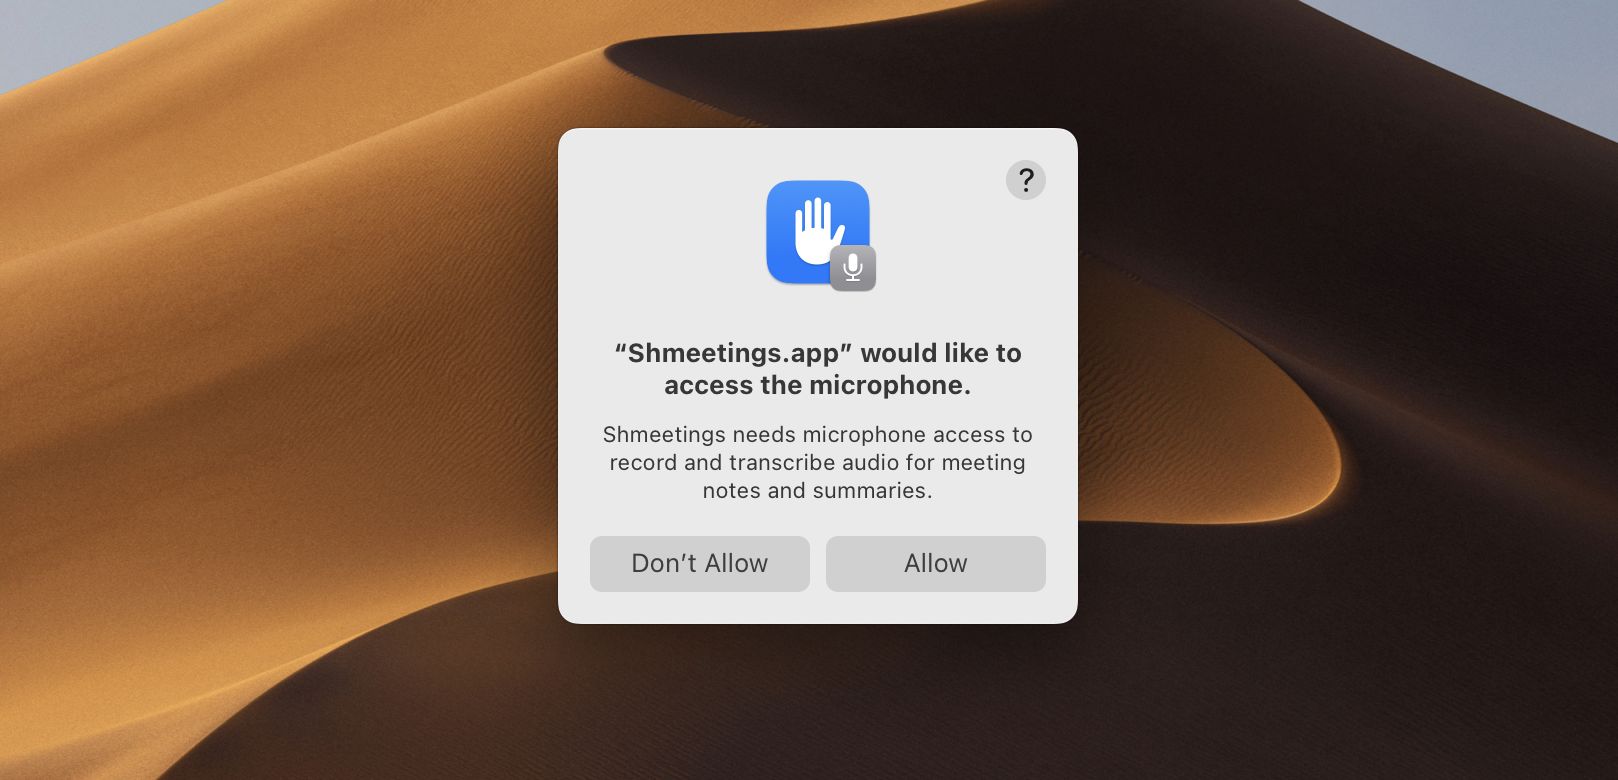
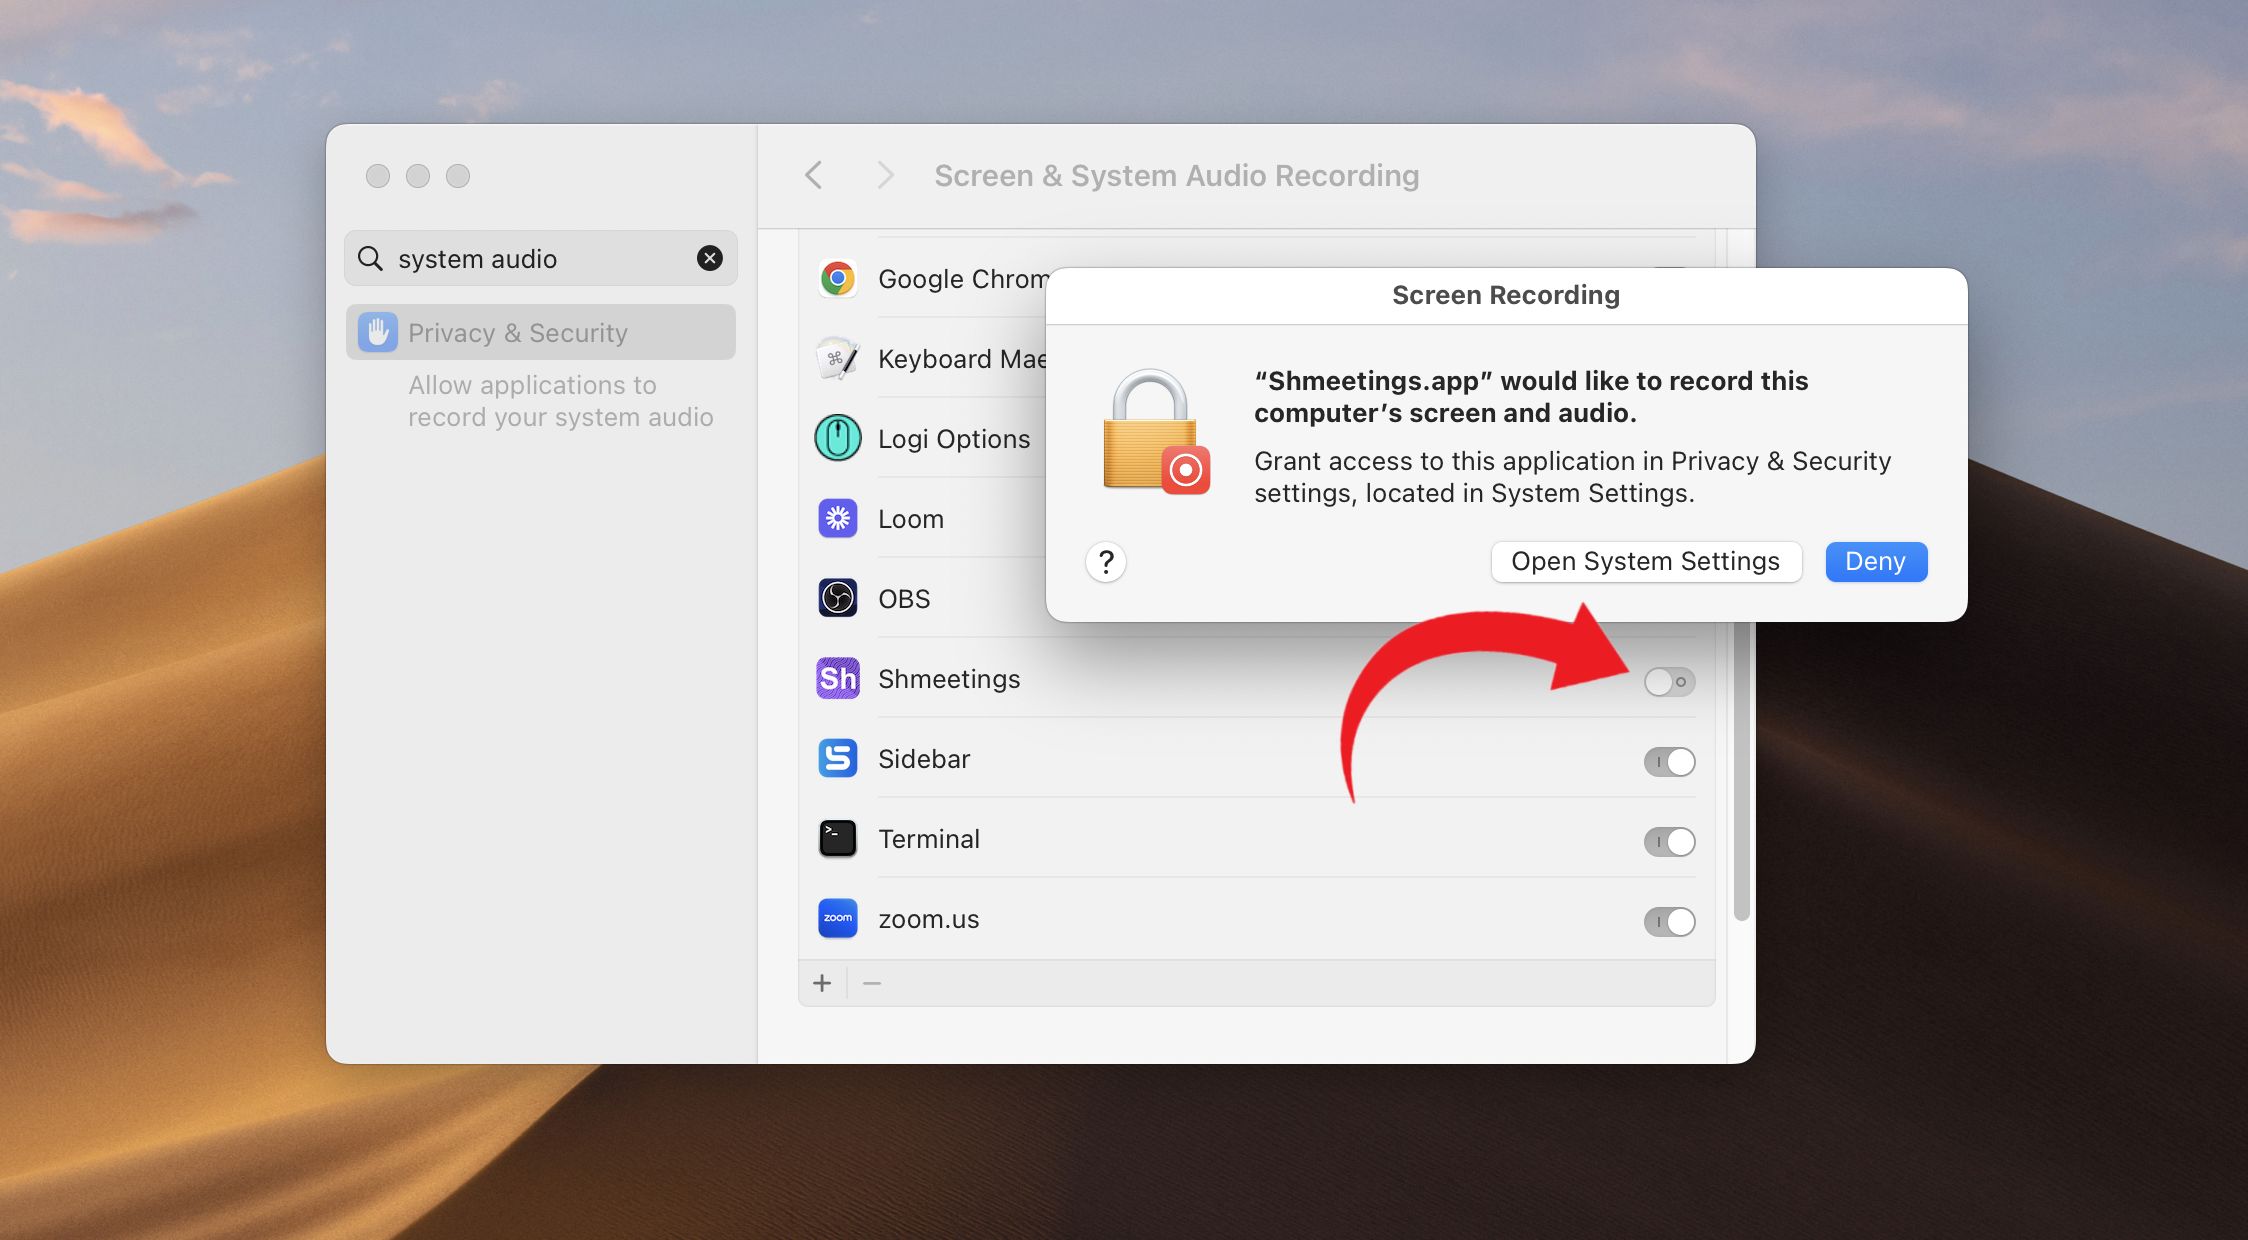
- Launch Shmeetings and begin the installation.
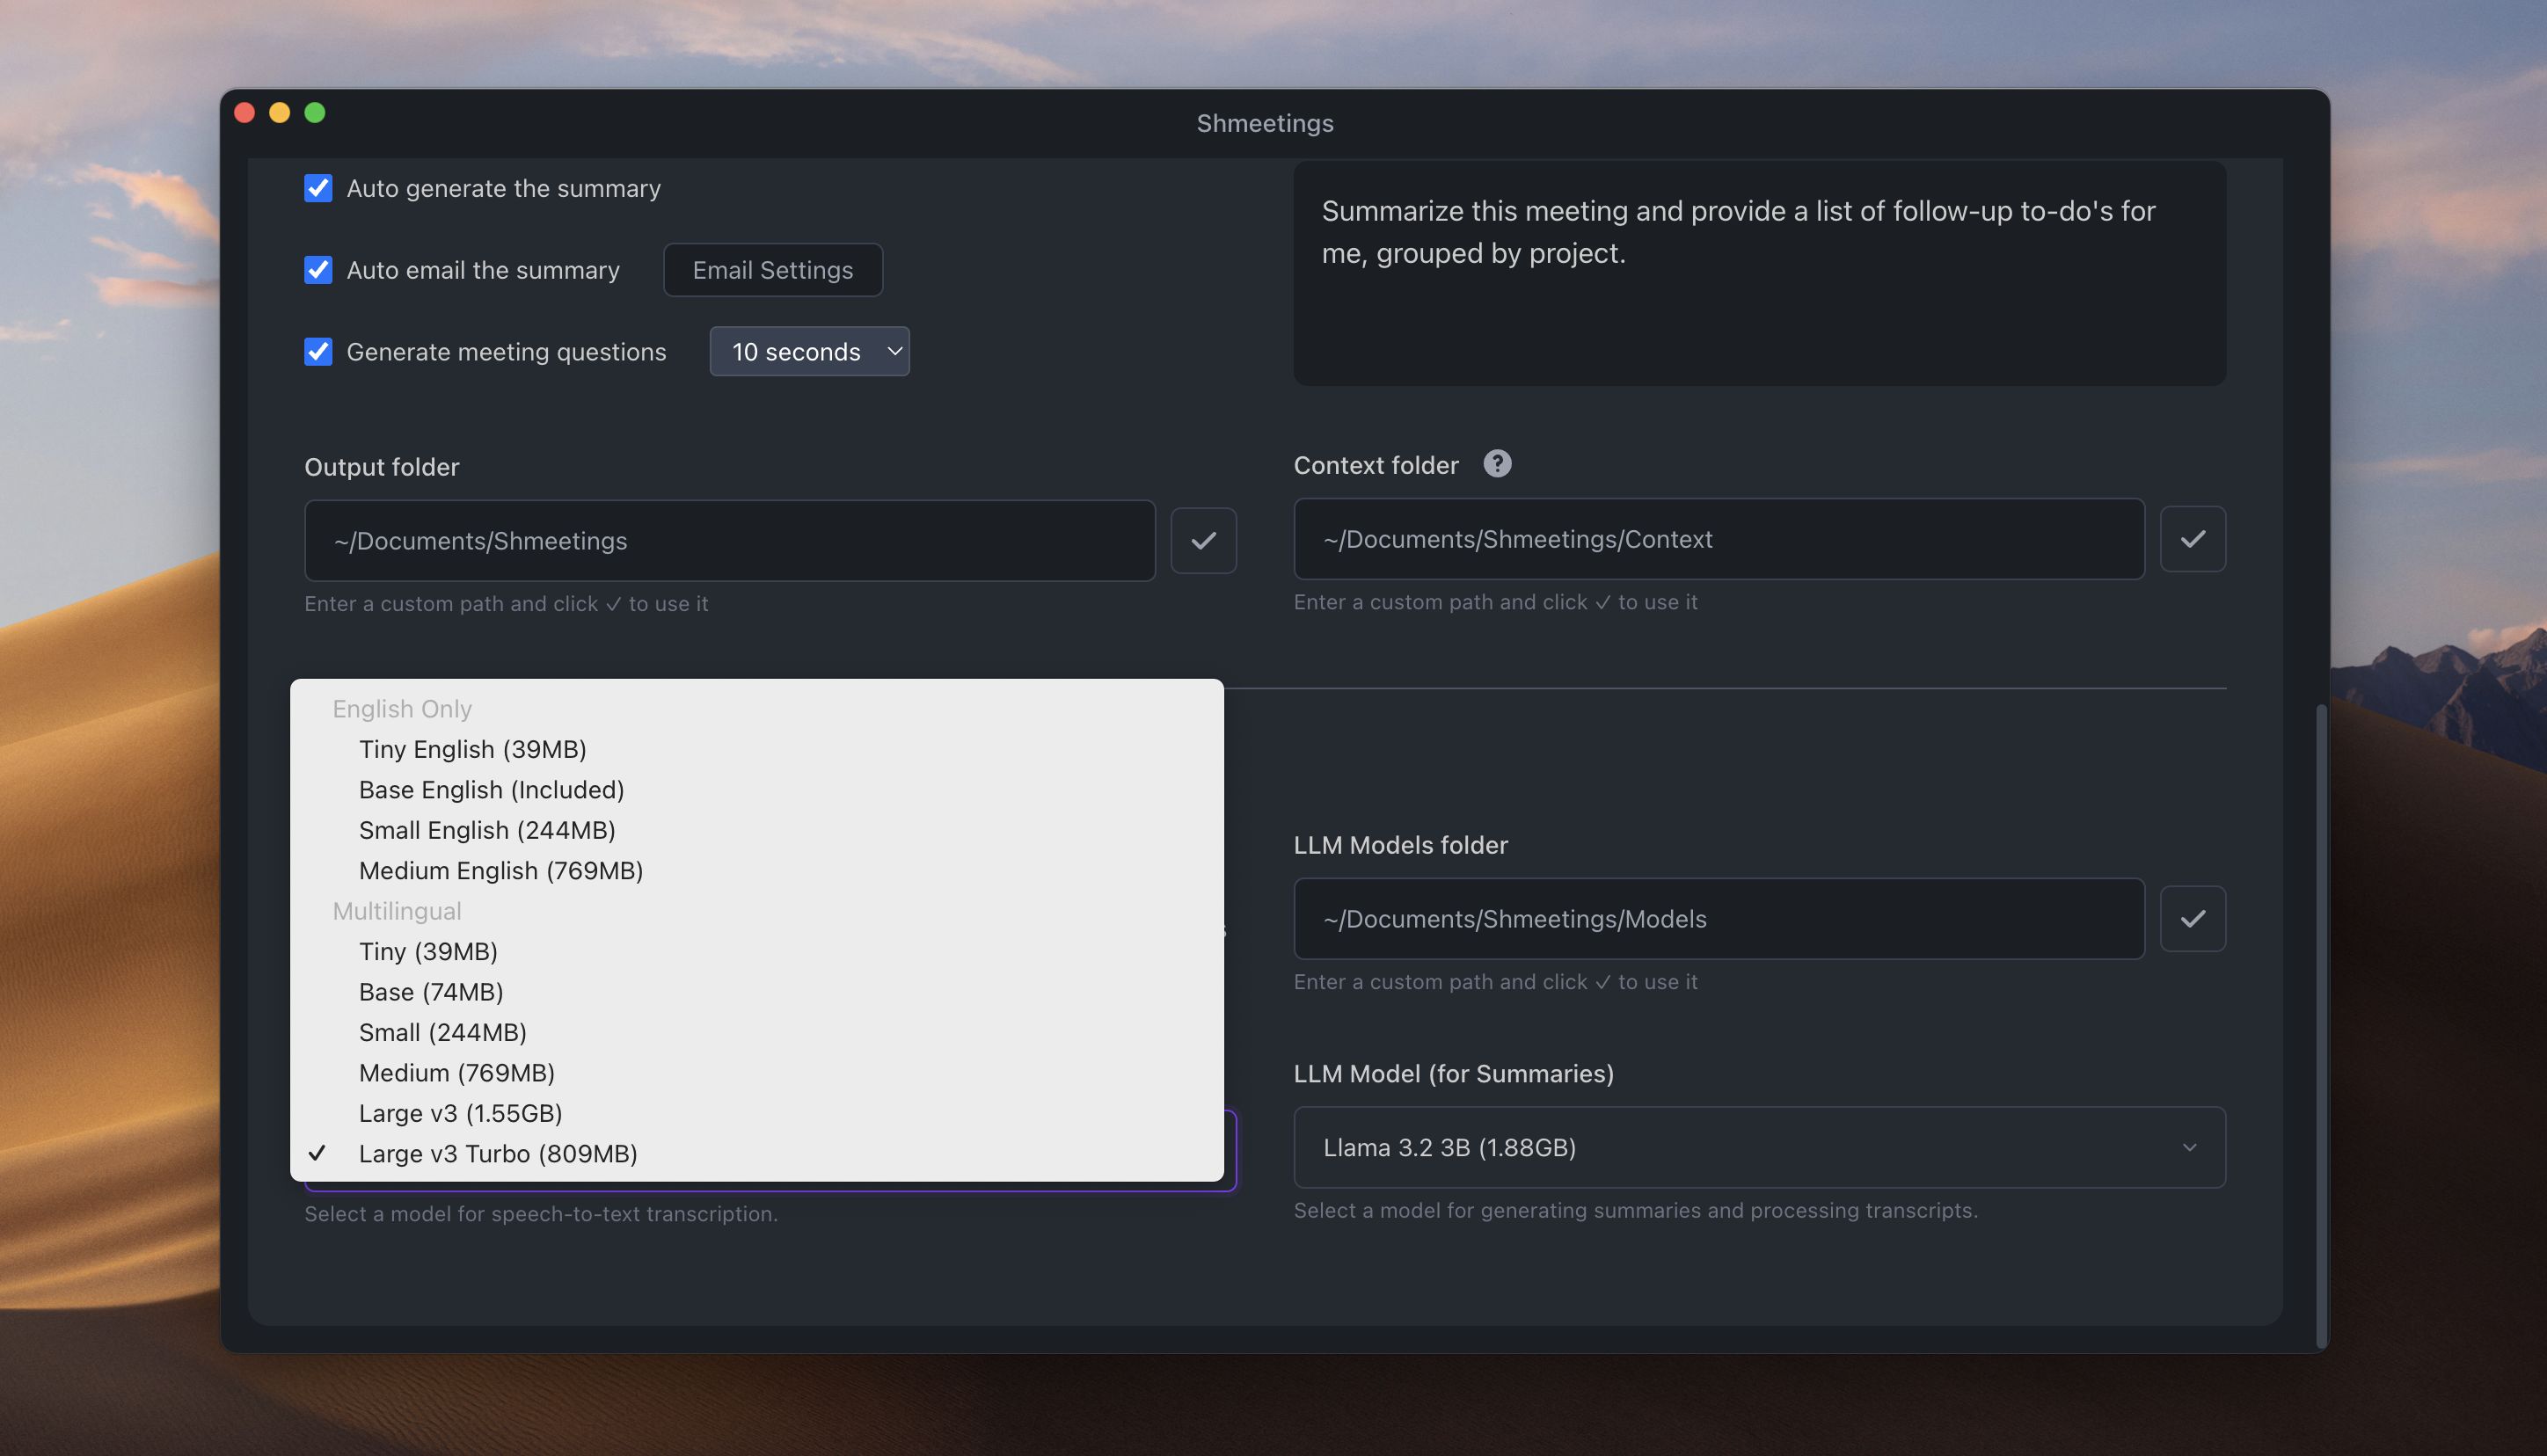
- The app will automatically download the Llama 3.2 model for local AI summaries.
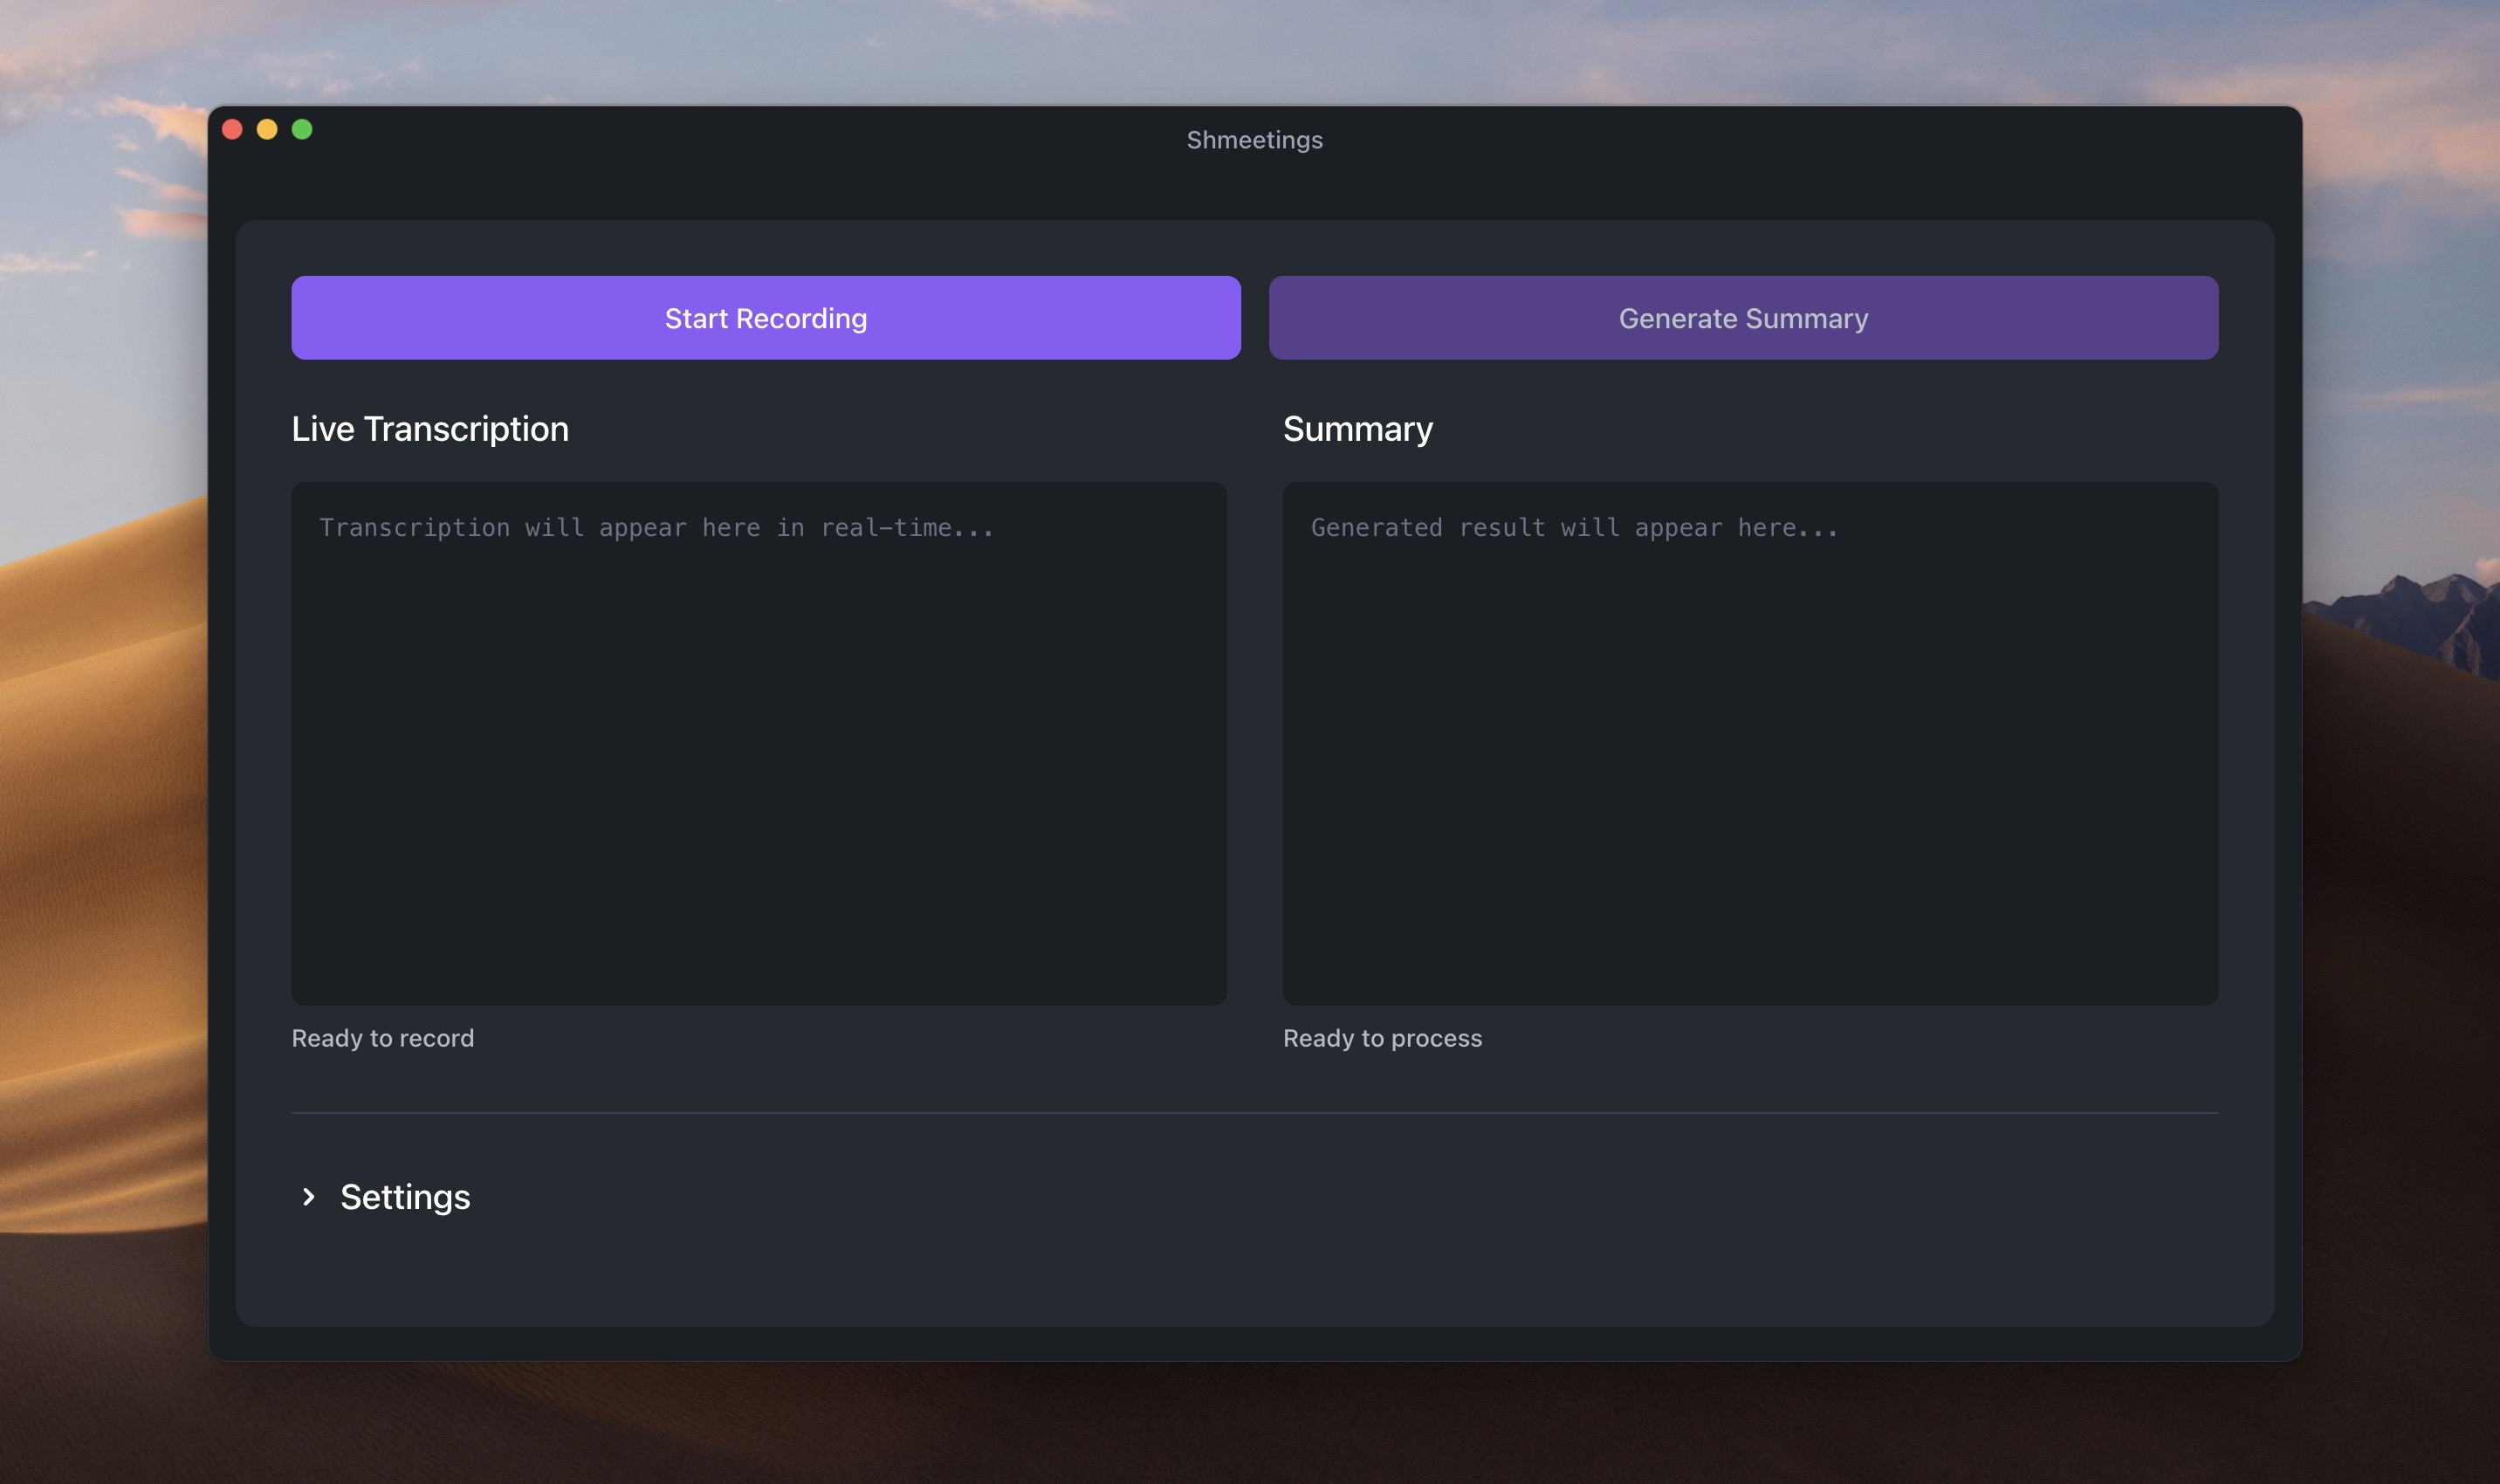
- Shmeetings will automatically open and will not require additional setup.
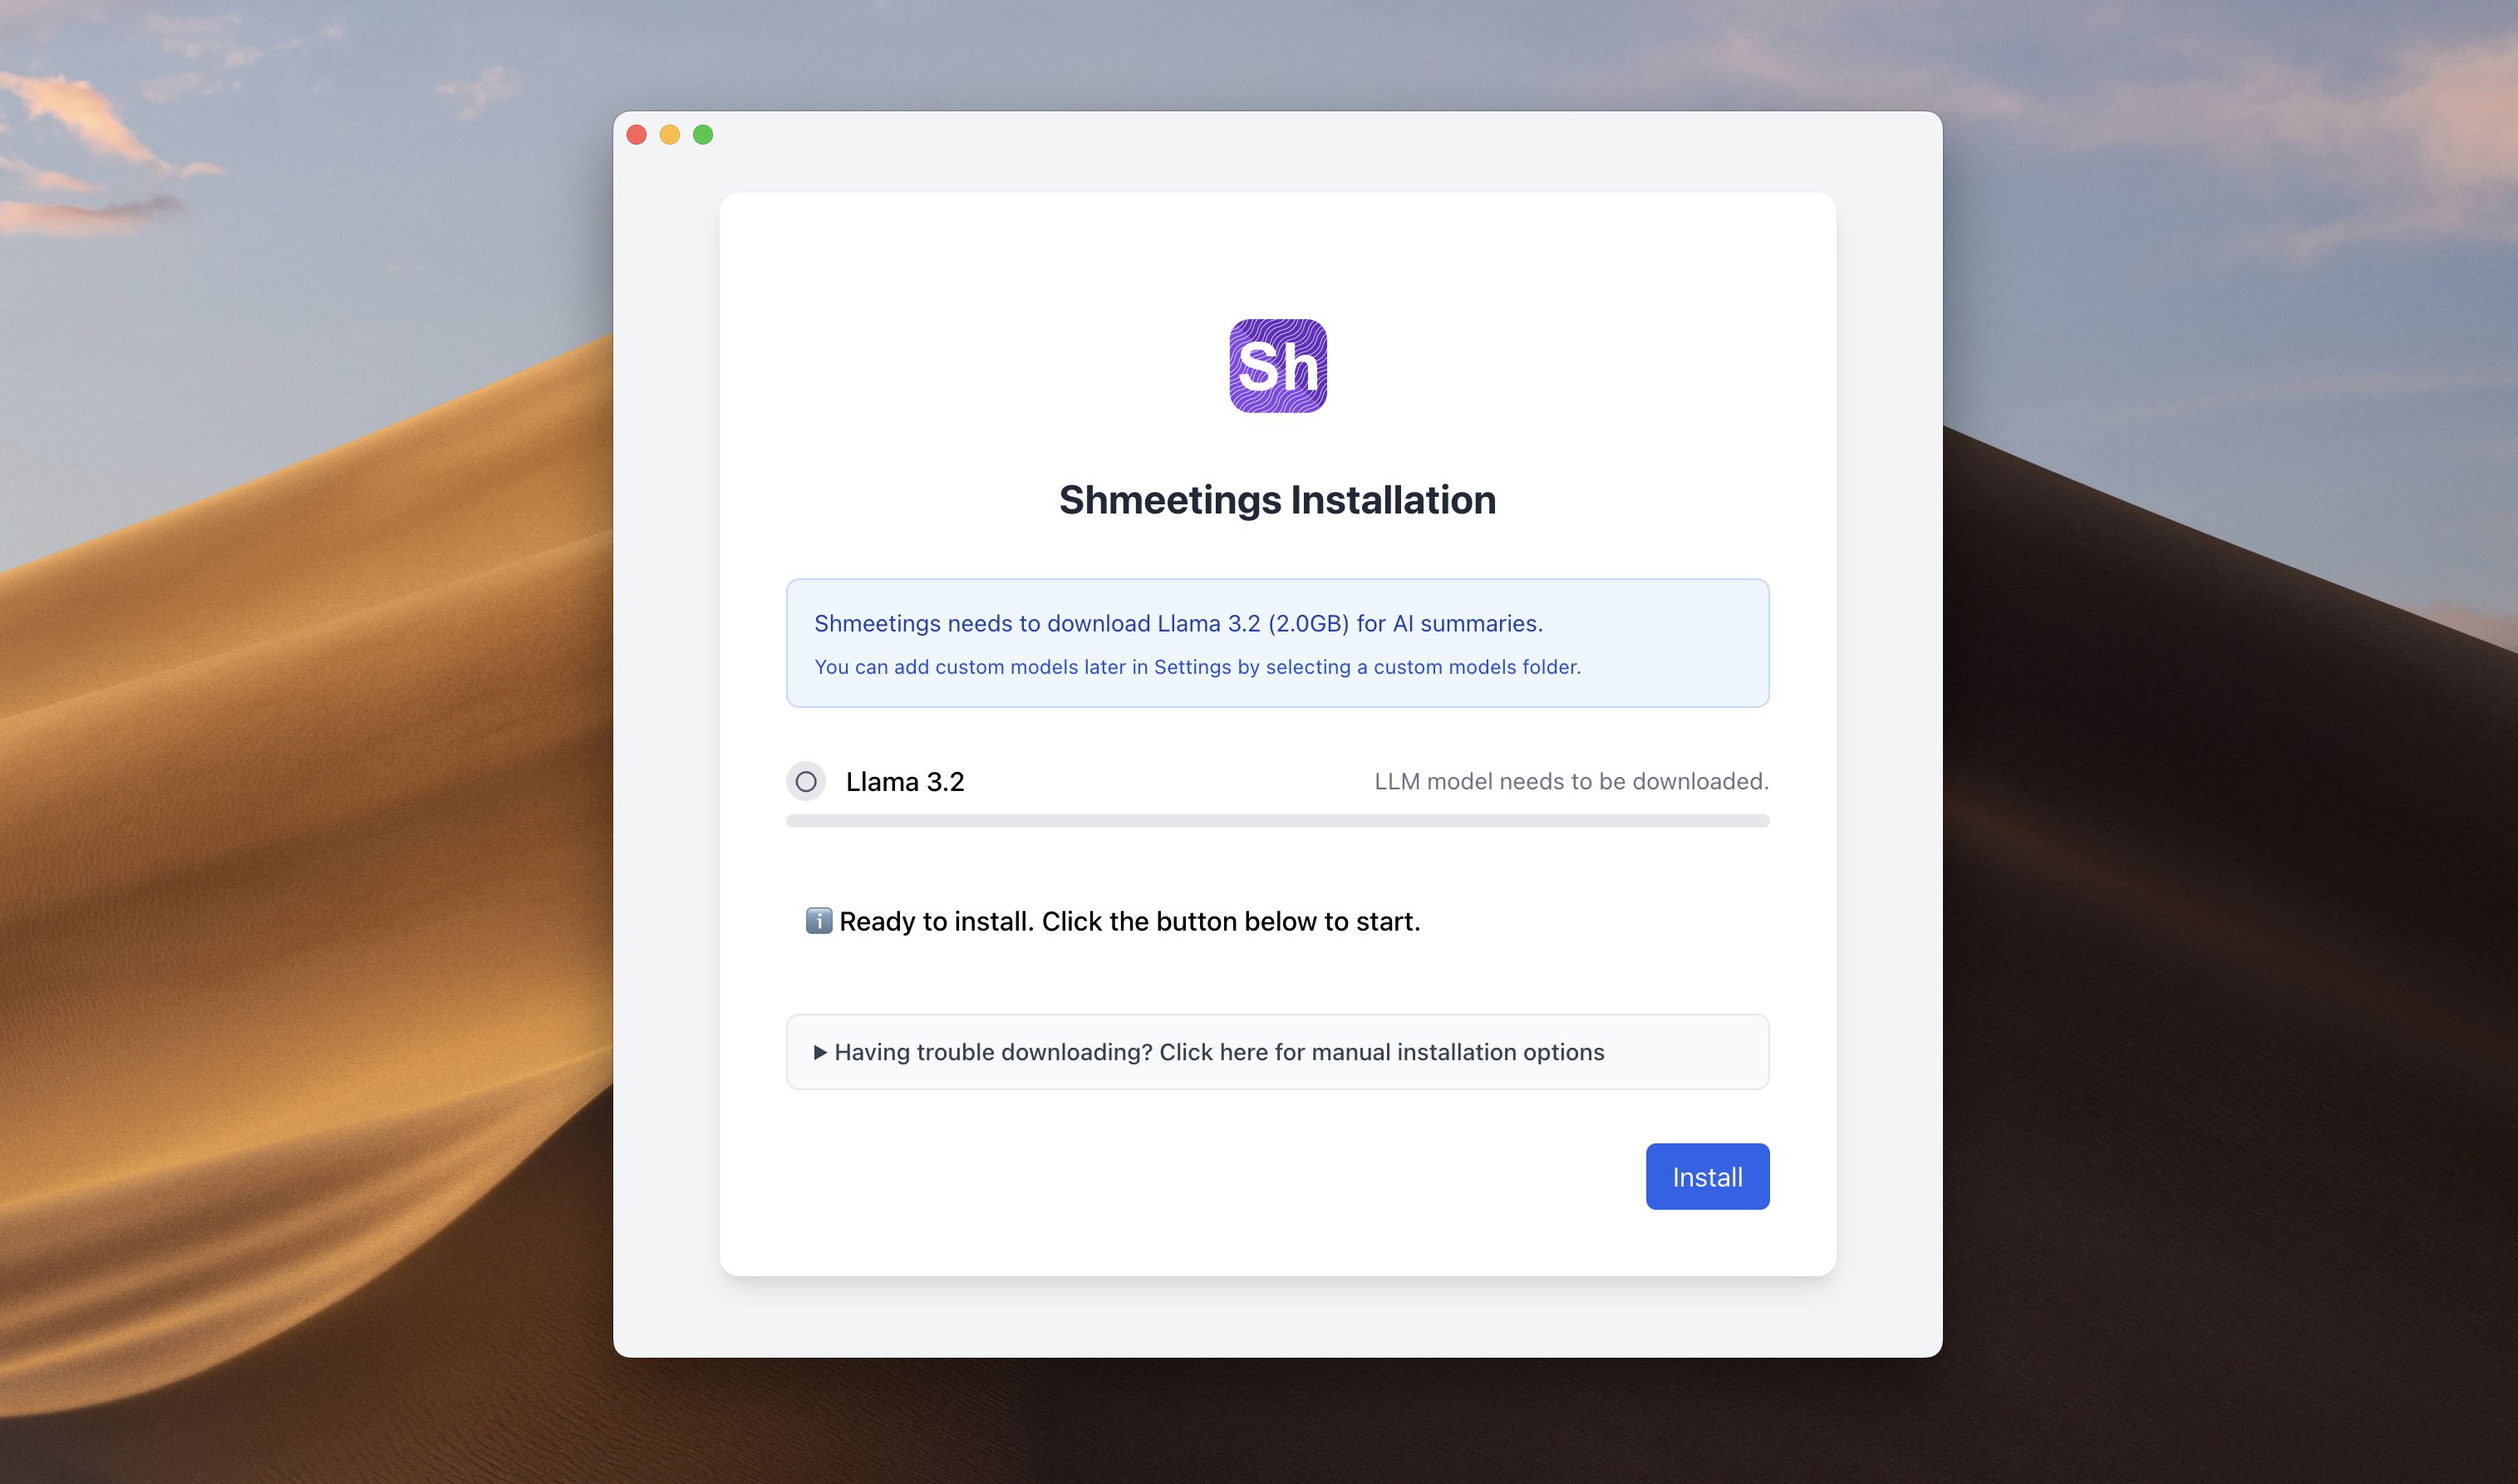
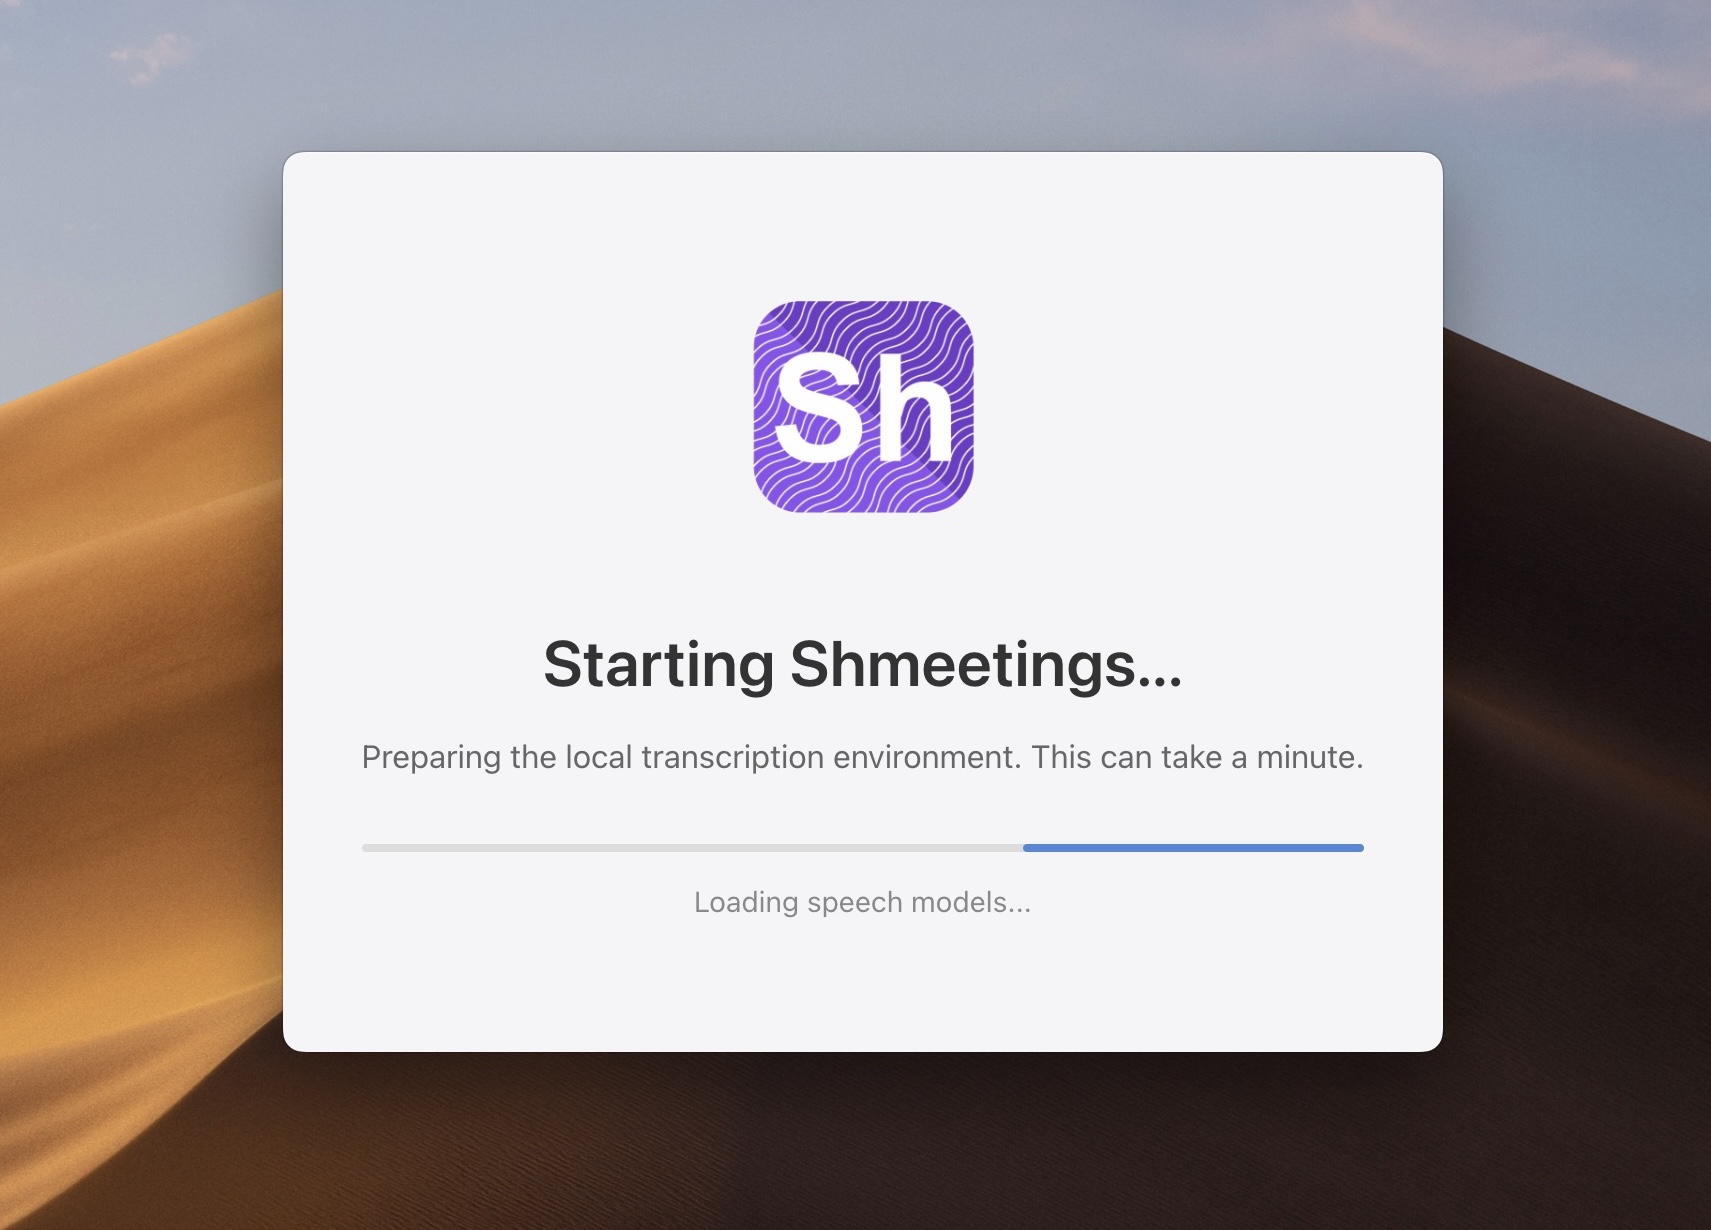
The first time you open Shmeetings, it may take a few seconds to start up. Then begin by clicking 'Install'.
Once Llama is downloaded, Shmeetings will automatically open.
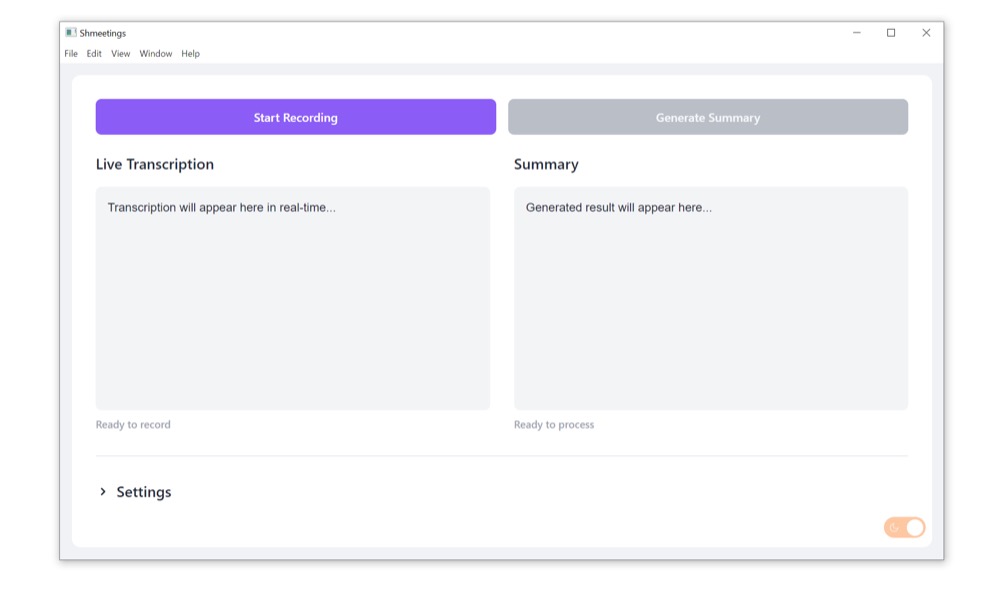
Getting Started on Windows
- Run the downloaded Shmeetings installer (.exe).
- Follow the installation prompts.
- The app will automatically download the Llama 3.2 model for local AI summaries.
- Shmeetings will automatically open and will not require additional setup.